The query has to be between 2 and 50 characters


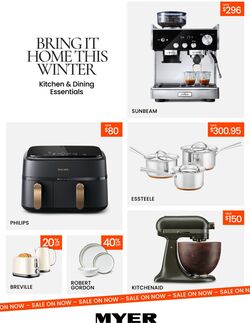
Products in this catalogue
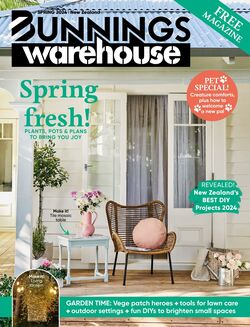
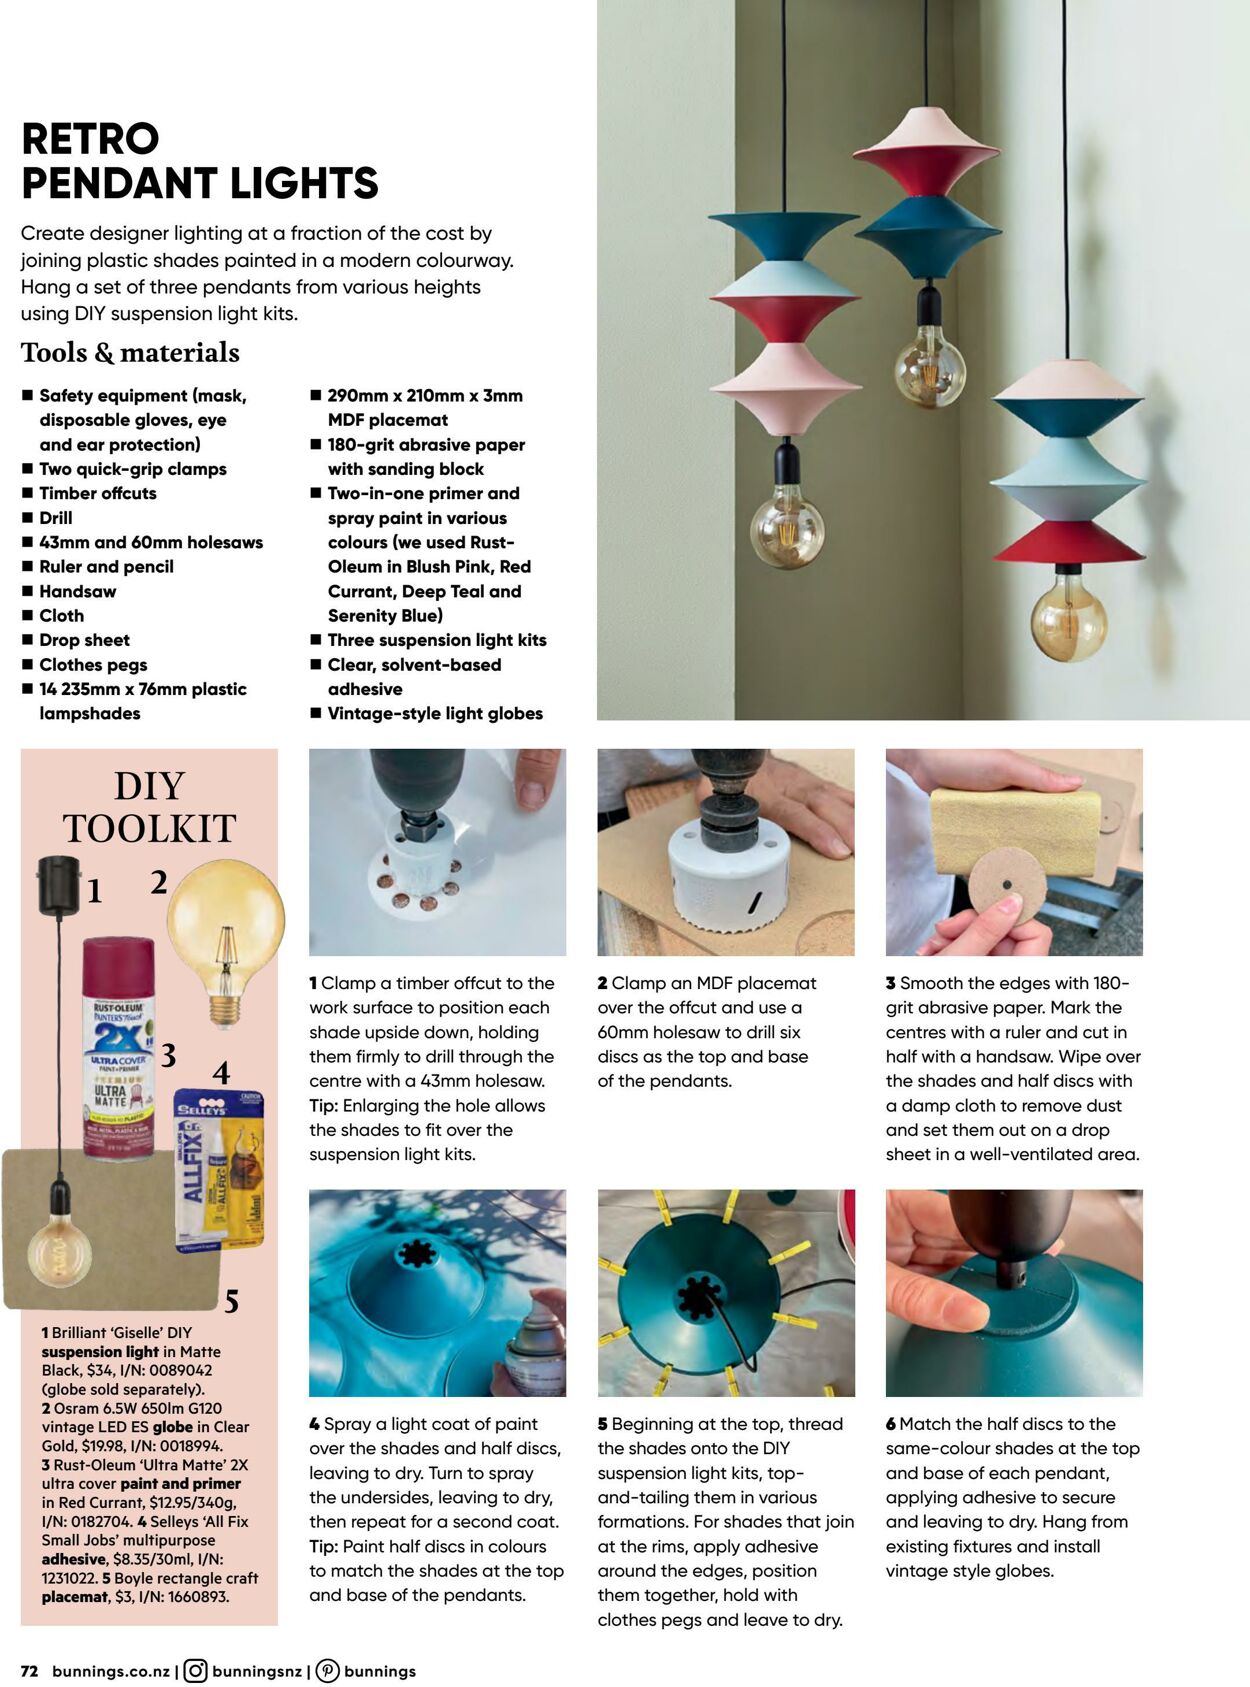
RETRO PENDANT LIGHTS Create designer lighting at a fraction of the cost by joining plastic shades painted in a modern colourway. Hang a set of three pendants from various heights using DIY suspension light kits. Tools & materials ™@ Safety equipment (mask, disposable gloves, eye and ear protection) ™ Two quick-grip clamps @ Timber offcuts @ Drill 1 43mm and 60mm holesaws @ Ruler and pencil ™ Handsaw = Cloth ™ Drop sheet ™@ Clothes pegs © 14 235mm x 76mm plastic lampshades DIY TOOLKIT ‘1 Brilliant ‘Giselle’ DIY suspension light in Matte Black, $34, I/N: 0089042 (globe sold separately). 2. Osram 6.5W 650m G120 vintage LED ES globe in Clear Gold, $1998, I/N: 0018994. 3 Rust-Oleum ‘Ultra Matte’ 2X ultra cover paint and primer in Red Currant, $12.95/340g, I/N: 0182704. & Selleys ‘All Fix Small Jobs’ multipurpose adhesive, $8.35/30mI, I/N: 1231022. 5 Boyle rectangle craft placemat, $3, |/N: 1660893. 290mm x 210mm x 3mm MDF placemat @ 180-grit abrasive paper with sanding block ™ Two-in-one primer and spray paint in various colours (we used Rust- Oleum in Blush Pink, Red Currant, Deep Teal and Serenity Blue) Three suspension light kits ™ Clear, solvent-based adhesive ® Vintage-style light globes ar 1Clamp a timber offcut to the work surface to position each shade upside down, holding them firmly to drill through the centre with a 43mm holesaw. Tip: Enlarging the hole allows the shades to fit over the suspension light kits. 4 Spray a light coat of paint over the shades and half discs, leaving to dry. Turn to spray the undersides, leaving to dry, then repeat for a second coat. Tip: Paint half discs in colours to match the shades at the top. and base of the pendants. 72 bunnings.co.nz | (©) bunningsnz | (P) bunnings 2.Clamp an MDF placemat over the offcut and use a 60mm holesaw to drill six discs as the top and base of the pendants. 5 Beginning at the top, thread the shades onto the DIY suspension light kits, top- and-tailing them in various formations. For shades that join at the rims, apply adhesive around the edges, position them together, hold with clothes pegs and leave to dry. 3 Smooth the edges with 180- grit abrasive paper. Mark the centres with a ruler and cut in half with a handsaw. Wipe over the shades and half discs with a damp cloth to remove dust and set them out on a drop sheet in a well-ventilated area. 6 Match the half discs to the same-colour shades at the top and base of each pendant, applying adhesive to secure and leaving to dry. Hang from existing fixtures and install vintage style globes.


| Name | Details |
|---|