The query has to be between 2 and 50 characters


Products in this catalogue
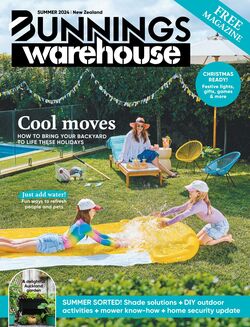
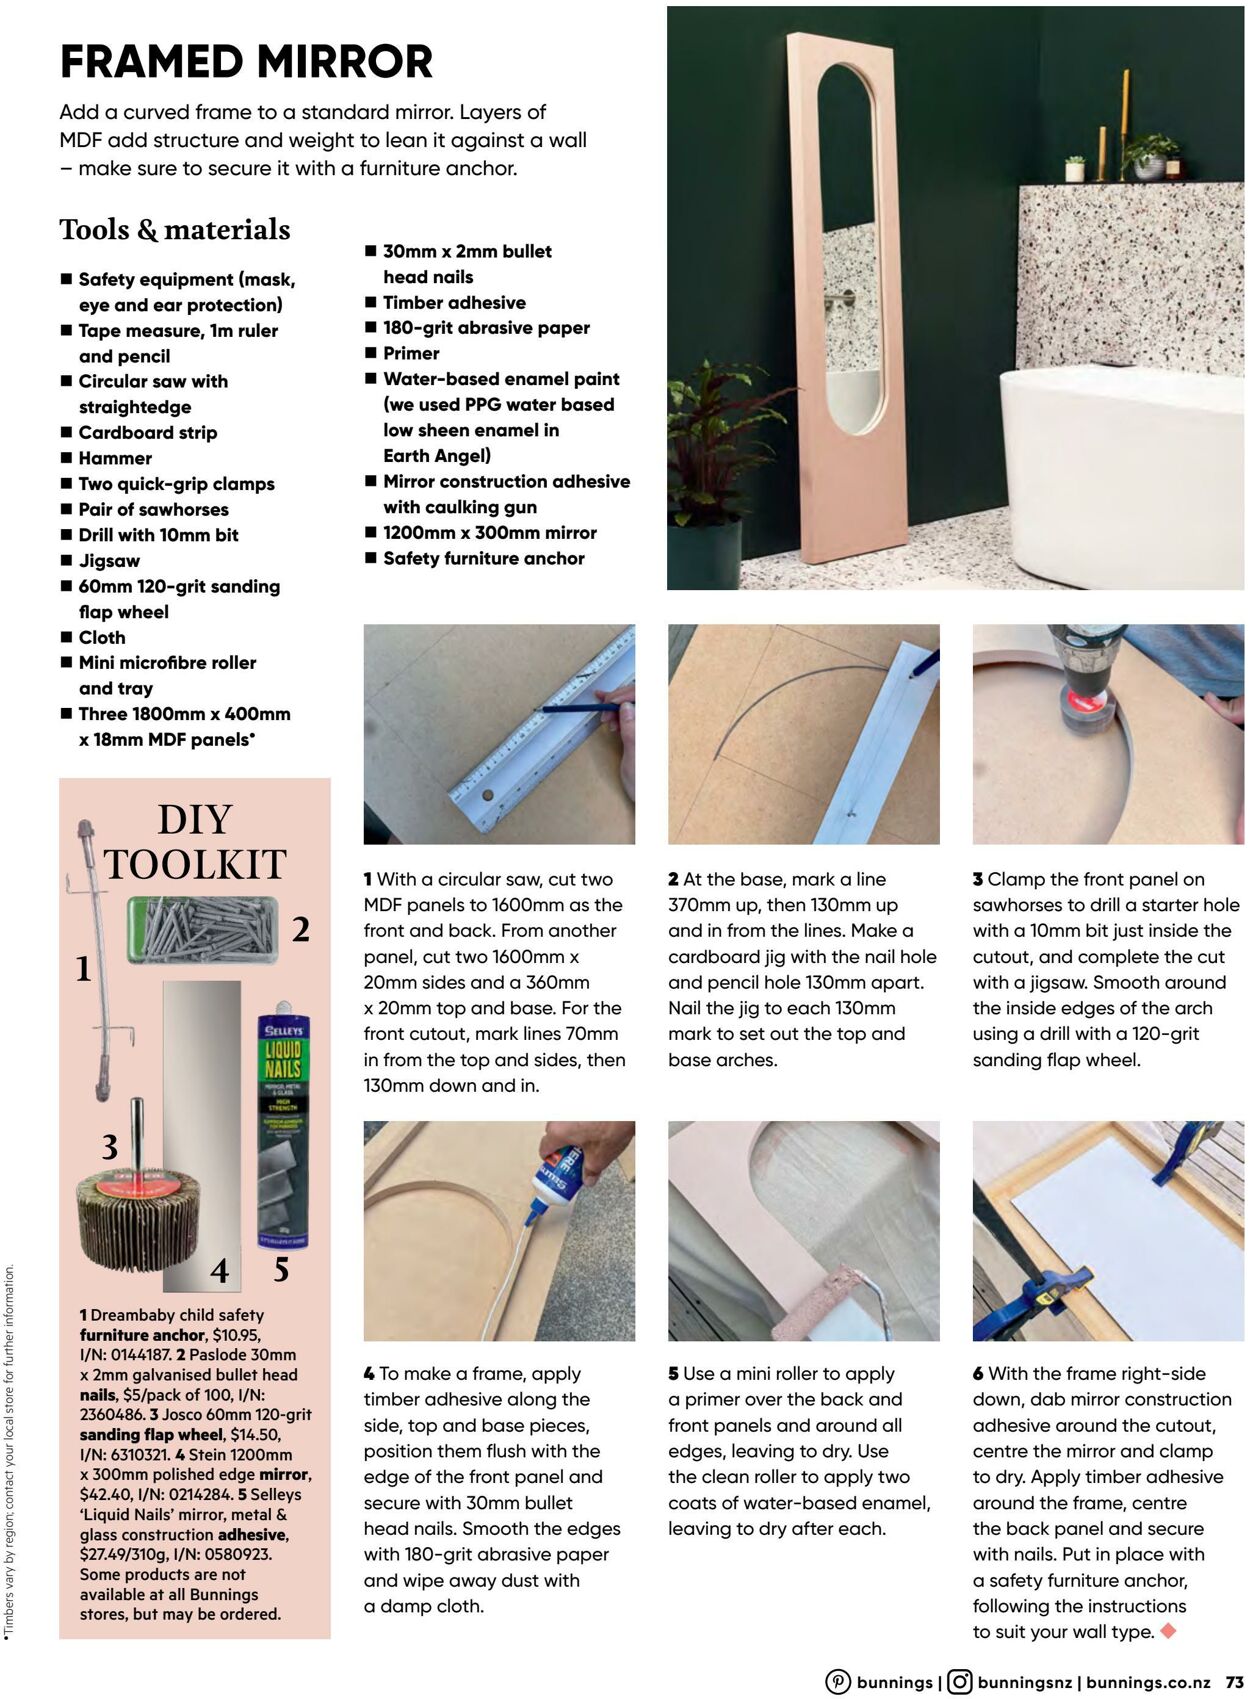
contact your local st = ° FRAMED MIRROR Add a curved frame to a standard mirror. Layers of MDF add structure and weight to lean it against a wall — make sure to secure it with a furniture anchor. Tools & materials ™@ Safety equipment (mask, eye and ear protection) ™@ Tape measure, Im ruler and pencil @ Circular saw with straightedge ™ Cardboard strip = Hammer § Two quick-grip clamps @ Pair of sawhorses & Drill with 10mm bit § Jigsaw @ 60mm 120-grit sanding flap wheel @ Cloth @ Mini microfibre roller and tray & Three 1800mm x 400mm x 18mm MDF panels” DIY \ TOOLKIT et 1 Dreambaby child safety furniture anchor, $10.95, I/N: 0144187. 2 Paslode 30mm x 2mm galvanised bullet head nails, $5/pack of 100, I/N: 2360486. 3 Josco 60mm 120-grit sanding flap wheel, $14.50, I/N: 6310321. 4 Stein 1200mm x 300mm polished edge mirror, $42.40, I/N: 0214284. 5 Selleys ‘Liquid Nails’ mirror, metal & glass construction adhesive, $27.49/310g, I/N: 0580923. Some products are not available at all Bunnings stores, but may be ordered. @ 30mm x 2mm bullet head nails ™ Timber adhesive @ 180-grit abrasive paper ™ Primer @ Water-based enamel paint (we used PPG water based low sheen enamel in Earth Angel) ™@ Mirror construction adhesive with caulking gun @ 1200mm x 300mm mirror ®@ Safety furniture anchor 1 With a circular saw, cut two MDF panels to 600mm as the front and back. From another panel, cut two 1600mm x 20mm sides and a 360mm x 20mm top and base. For the front cutout, mark lines 70mm in from the top and sides, then 130mm down and in. 4 To make a frame, apply timber adhesive along the side, top and base pieces, Position them flush with the edge of the front panel and secure with 30mm bullet head nails. Smooth the edges with 180-grit abrasive paper and wipe away dust with a damp cloth. 2 At the base, mark a line 370mm up, then 130mm up and in from the lines. Make a cardboard jig with the nail hole and pencil hole 130mm apart. Nail the jig to each 130mm mark to set out the top and base arches. ( ‘ 5 Use a mini roller to apply a primer over the back and front panels and around all edges, leaving to dry. Use the clean roller to apply two. coats of water-based enamel, leaving to dry after each. y 3 Clamp the front panel on sawhorses to drill a starter hole with a 10mm bit just inside the cutout, and complete the cut with a jigsaw. Smooth around the inside edges of the arch using a drill with a 120-grit sanding flap wheel. 6 With the frame right-side down, dab mirror construction adhesive around the cutout, centre the mirror and clamp. to dry. Apply timber adhesive around the frame, centre the back panel and secure with nails. Put in place with a safety furniture anchor, following the instructions to suit your wall type. © @® bunnings | (G) bunningsnz | bunnings.co.nz_ 73


| Name | Details |
|---|